
6 Easy Steps To Sparkling Clean a Refrigerator Effectively At Home

You open the refrigerator and suddenly smell an unpleasant smell or find small black spots stuck to the walls of the refrigerator? This is a real situation that many families experience but are often confused about how to deal with it completely. A moldy refrigerator not only affects the lifespan of the equipment, but is even more dangerous because it directly affects the hygiene, food safety, and the health of the entire family. Do not worry too much, this problem can actually be solved by yourself at home.
This blog will guide you in detail on how to clean a moldy refrigerator through 6 easy steps using safe and economical natural ingredients. This is also the standardized method used by bTaskee to bring cleanliness and tranquility to thousands of kitchens in Malaysia.
5 signs to recognize a moldy refrigerator
Identifying the signs of a moldy refrigerator early is very important. Timely detection helps prevent mold spores from spreading to other foods and protects the respiratory and digestive systems of family members.

5 common signs of fungus:
Strong foul odor from the refrigerator: Even though the food has been sealed tightly, when you open the refrigerator door you can still smell a strong foul or musty odor.
Strange spots appear on the walls of the crate: Look closely at the walls of the crate, shelves or hidden corners, you will see small black, green or grayish-white spots.
The gasket on the door of the chest changes condition: The gasket part of the door has a long black mark and feels sticky to the touch. This is a place where fungus easily grows but is often overlooked.
Food spoils more quickly than usual: Vegetables wilt or rot quickly and cooked food spoils quickly even if it is still within the storage period and kept at the appropriate temperature.
Surfaces are too damp: There is a lot of stagnant water in the crate, high humidity creates a perfect environment for bacteria and fungi to grow.
The process of cleaning a moldy refrigerator effectively in just 6 easy steps
To completely eliminate fungus and its spores, you need a systematic and thorough cleaning process.
Below is a process for cleaning a moldy refrigerator that consists of 6 standard steps, ensuring effectiveness without the need to use dangerous industrial cleaning agents.
Step 1: Prepare the necessary materials and equipment
Neat preparation helps the cleaning process go smoothly and quickly. Instead of using strong detergents that easily leave odors on food, we will use natural ingredients that have a strong ability to kill fungi.
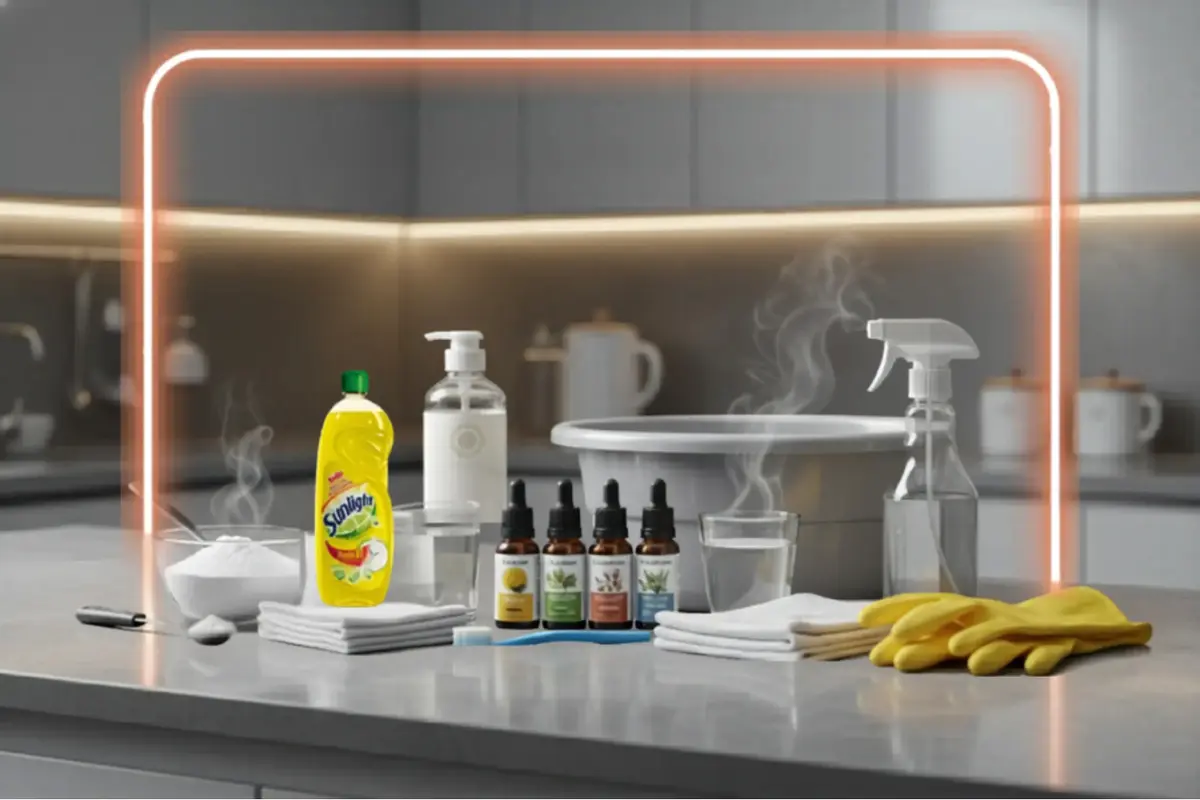
List of ingredients:
Baking soda: Use about 2–3 tablespoons for 1 liter of water. Baking soda is known for its cleaning, whitening, and deodorizing abilities.
White vinegar (or apple cider vinegar): The acetic acid content in vinegar helps kill fungus naturally and acts as an antibacterial.
Dishwashing soap: A mild type for cleaning oil stains.
Clean warm water: Helps dissolve dirt faster.
Natural essential oils: Lemon, lemongrass or mint essential oils to provide a fresh scent and help with antibacterial properties.
Equipment list:
Soft cloth and clean rags: Prepare 2–3 pieces (a damp cloth for wiping and a dry cloth for drying).
Old toothbrush: Used to clean small crevices, door seals and hidden corners.
Large bucket or basin: For mixing the solution and soaking the shelves.
Rubber gloves: Protect hands while cleaning.
Spray bottle: To store cleaning solution and make it easier to spray into narrow areas.
Step 2: Unplug the electricity completely before cleaning
Safety is always a priority. Before carrying out any cleaning process involving moisture, you must unplug the refrigerator completely. Make sure the refrigerator has stopped operating to avoid the risk of leakage or electric shock.
Unplugging the electricity also helps save energy and avoid waste when the box door is open during the cleaning process.
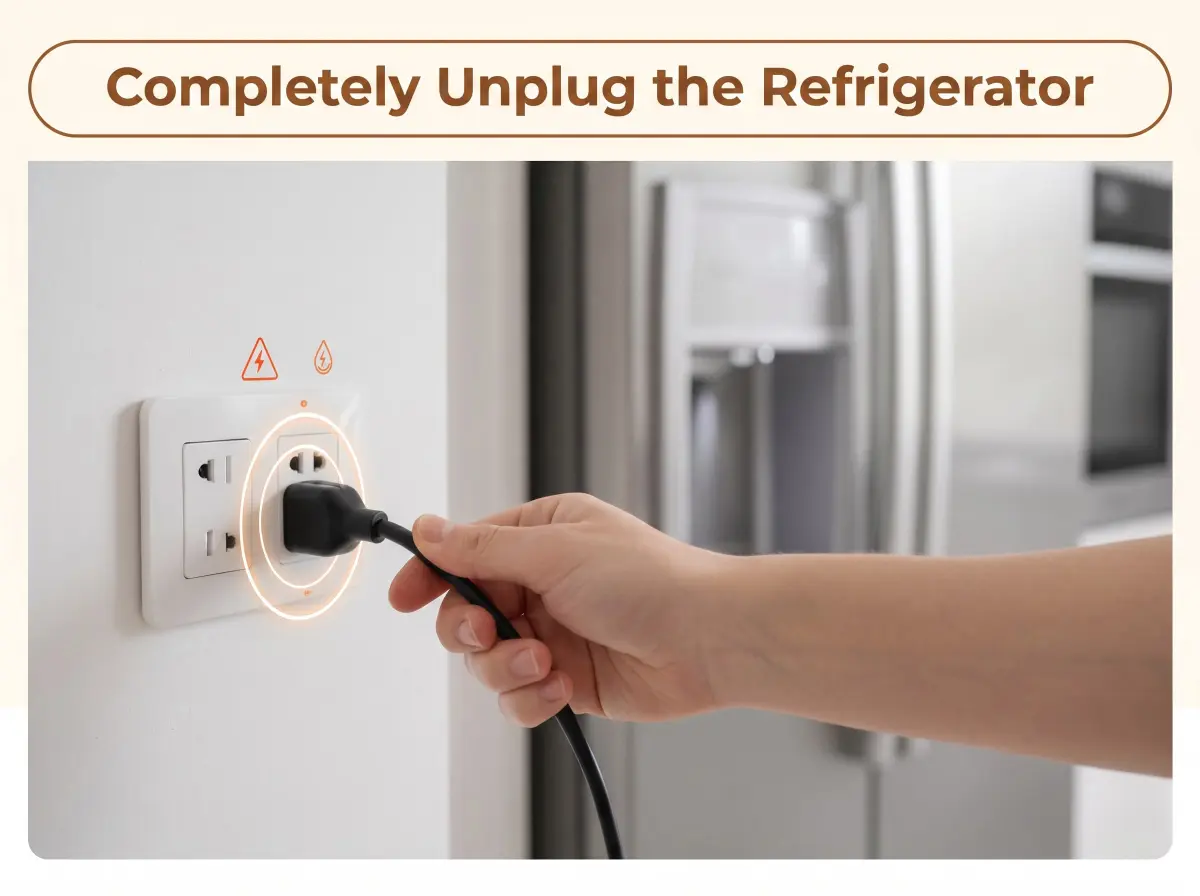
Note for freezers with thick ice: after unplugging, open the door to let the ice melt naturally or place a container of hot water inside to speed up the defrosting process.
Additionally, never use a knife, scissors or sharp objects to scrape off ice as it can damage the cooling system.
Step 3: Remove all food and remove the shelves for cleaning
After unplugging, empty the refrigerator to make the cleaning process easier. This is also an opportunity to check all the food in the house.
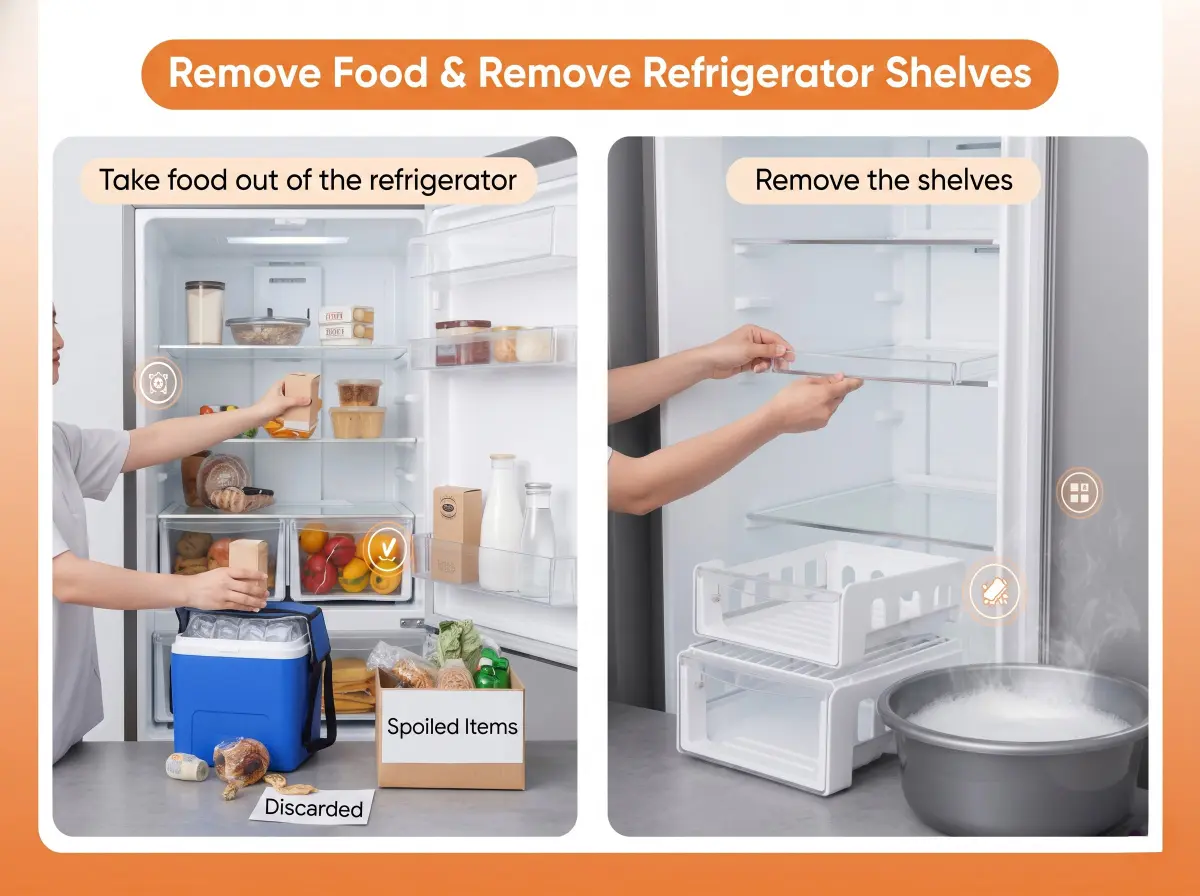
Handling food:
Remove all food from the refrigerator and freezer.
Separate and discard expired, spoiled or moldy food to prevent recontamination after cleaning.
For food that is still good, temporarily store it in an ice box or thermal insulation bag.
Don't forget to check the bottom of bottles, jars and containers; if there are any traces of dirt or fungus, wipe or wash them before storing them again.
Removing the box part:
Remove all shelves, drawers, vegetable bins and door shelves carefully so as not to break the plastic clips.
Soak all accessories in warm water mixed with dishwashing soap for 15–20 minutes.
After that, wash it clean and dry it.
Important note: Do not pour very hot water directly onto a still cold glass or plastic shelf to avoid cracking or bending due to temperature shock.
Step 4: Mix baking soda, vinegar and dish soap and wipe the entire refrigerator
This is the most important step in killing the fungus. You will create your own “magic” cleaning mixture that is safe but very effective against dirt.

How to do:
Mix the solution according to the formula: 2 tablespoons baking soda + 2 tablespoons white vinegar + 1 tablespoon dishwashing soap + 1 liter of warm water. Stir until everything dissolves.
Pour the solution into a spray bottle or bucket. If you want your fridge to smell fresh, you can add 5–10 drops of lemon essential oil to the mixture.
Clean the refrigerator with a mixture of baking soda, vinegar and dishwashing soap: Use a clean cloth dipped in the solution, wring it out slightly (damp enough, not too wet), then wipe the entire inside of the refrigerator in order from top to bottom, from inside to outside (top of the refrigerator → dividing wall → bottom of the refrigerator).
For narrow areas and small crevices that are difficult to reach with a cloth, use an old toothbrush dipped in the solution to scrub thoroughly.
For stubborn mold stains or old dirt, spray the solution directly onto the surface, wait about 5–10 minutes until the dirt softens, then wipe clean.
After all the fungus is removed, use another clean cloth dampened with clean water to wipe the entire crate again to remove any remaining solution and dirt.
Step 5: Clean the door gasket and refrigerator surface
The gasket on the door of the crate is an ideal “hiding” place for bacteria and fungi because it has many folds and is often moist, but it is also the part that is most often overlooked.
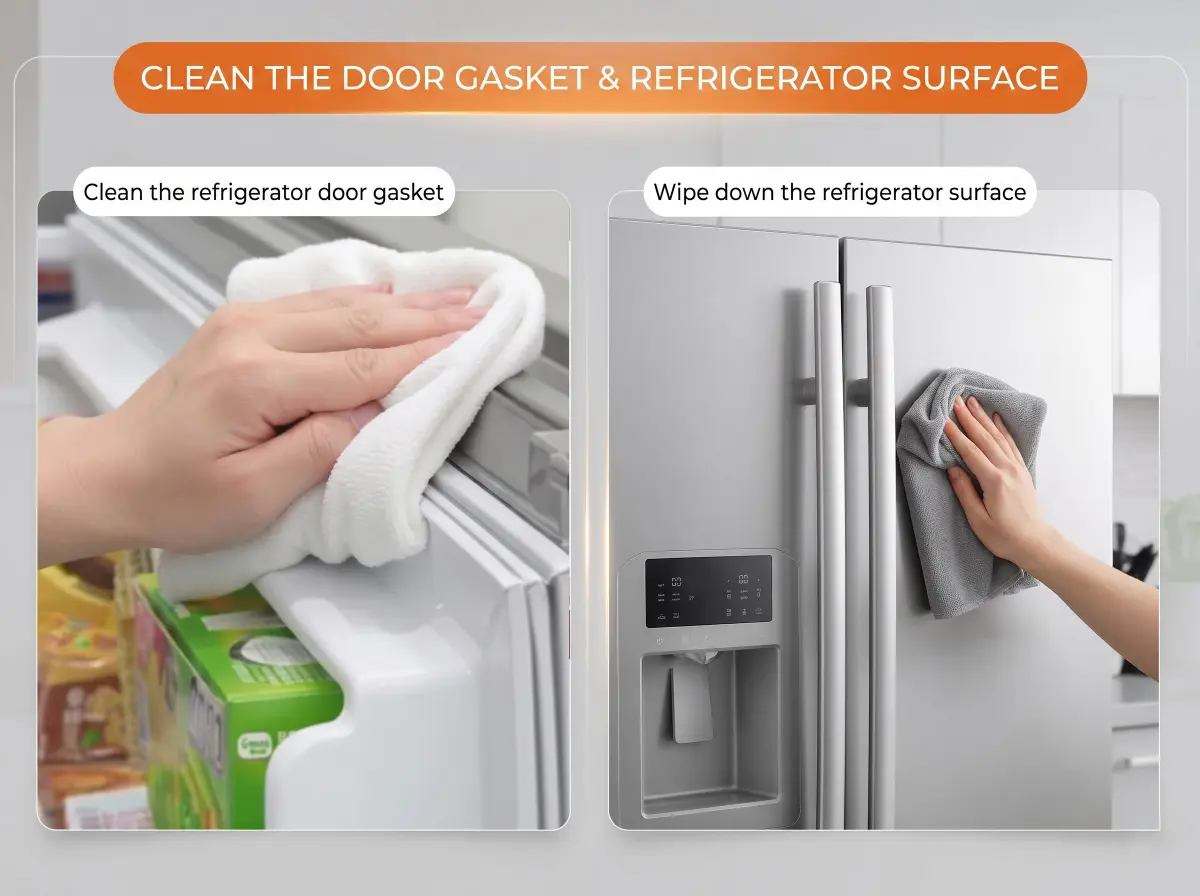
Cleaning the door gasket:
Use a solution of white vinegar mixed with water in a 1:1 ratio.
Use an old toothbrush or wrap a small cloth around your finger, dampen it with the vinegar solution and wipe each fold of the gasket thoroughly. The vinegar helps kill the fungus and cleans the sticky black stains.
A little tip from “Sister Bee” is that if the dirt is too stubborn, you can sprinkle a little baking soda directly on the damp cloth to increase friction and cleaning power.
During this process, check if the door gasket is cracked, torn or loose. If so, it needs to be replaced immediately so that the refrigerator can maintain the temperature properly and save electricity.
After cleaning, make sure the door gasket is completely dried to prevent fungus from reappearing.
Cleaning the surface of the refrigerator:
Use a soft cloth dampened with a mild detergent solution to wipe down the entire exterior surface of the refrigerator, including the top of the refrigerator which usually collects a lot of dust.
Pay special attention to door handles as they are the most frequently touched part and contain a lot of bacteria.
Finally, use a soft dry cloth to wipe again so that the surface of the box is shiny without water marks.
Never use a steel brush or abrasive cleaning agents as they can scratch the refrigerator's paint layer.
Step 6: Dry the box, plug in the power and organize the food
The final step to complete this process is to return the refrigerator to its best operating condition so that it is ready to store food safely.

Steps to take:
Use a dry, clean cloth to wipe down the entire inside of the box again, making sure there is no standing water. A dry environment helps prevent mold growth.
Reinstall the washed and dried shelves, drawers and containers back into their original places. Check the stability of each connection.
Leave the crate door open for about 10–15 minutes so that air can circulate and help the crate dry completely and remove the vinegar smell (if any).
Plug the appliance back in. Wait about 15–30 minutes until the fridge cools down and reaches a stable temperature before putting food back in.
Arrange food neatly: Separate raw and cooked food. Use airtight containers or quality ziplock bags to store food. Don't stack too tightly so that cool air can circulate well throughout the box.
Tips from “Big Bee” bTaskee:
After you've finished wiping down the crate, connecting the electricity and arranging the food, you can place a packet of activated charcoal, dried coffee grounds or a few slices of fresh lemon in the corner of the crate. This will help absorb moisture and effectively eliminate odors, thus reducing the risk of mold reoccurring in the future.
6 tips to reduce mold recurrence in the refrigerator
“Prevention is better than cure”, maintaining good usage habits helps you save cleaning time in the future and ensures that the refrigerator is always a safe place to store food.
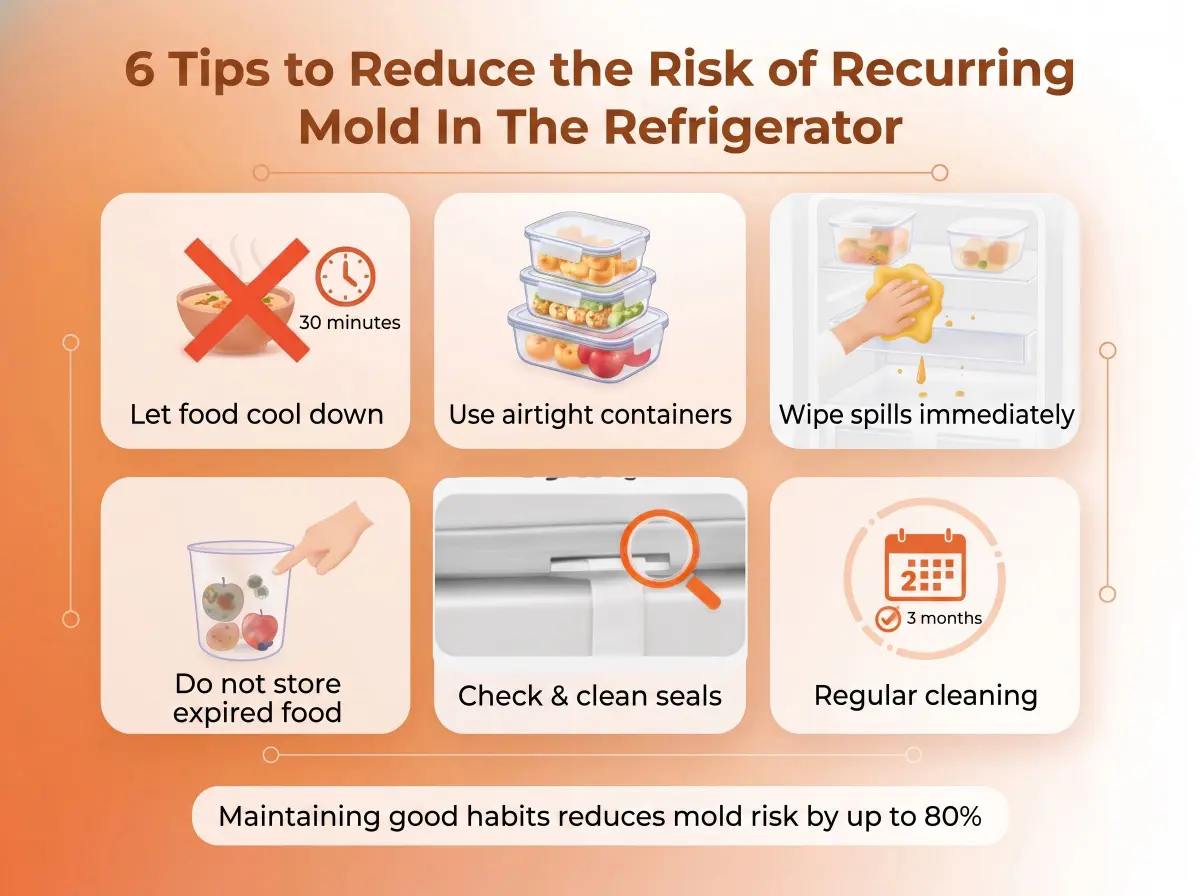
1/ Do not put hot food in the refrigerator:
Food that is still hot will produce water vapor and dramatically increase the humidity inside the refrigerator compartment. The humid environment combined with temperature changes is the ideal condition for mold to grow.
Wait until food is completely cool (about 30 minutes at room temperature) before storing it in the refrigerator. This habit also helps save electricity because the refrigerator doesn't have to work as hard to stabilize the temperature.
2/ Use tightly closed containers instead of placing food directly:
Get rid of the habit of leaving uncovered plates of food or vegetables in the fridge. Using tightly sealed containers helps prevent the spread of food odors and reduces bacterial cross-contamination.
Prioritize the use of glass containers, high-quality plastic containers with tight-fitting lids, or quality ziplock bags. Separate containers for raw and cooked foods to ensure food hygiene and safety.
3/ Clean up spills immediately:
Spills of fruit juice, milk, meat broth or water from vegetables, if not cleaned up immediately, will dry and become a breeding ground for bacteria and fungi.
When you see new stains, use a tissue to absorb them immediately, then wipe them off with a damp cloth. It's much easier to clean stains when they're fresh than when they're hardened.
4/ Don't store expired or spoiled food:
Many families have the habit of storing a lot of food but forget to use it until the food spoils, rots and causes mold to spread to other food. Check the refrigerator at least once a week to throw out food that has expired or has changed color and odor.
A little tip is to use the “First In – First Out” principle: put new food in the inside and old food in the front so that it is used first.
5/ Check & clean the box door gasket periodically:
A damaged refrigerator door seal will allow cold air to escape and warm, humid air from outside to enter, resulting in stagnant water and creating the perfect conditions for mold to grow. It is recommended that you check and clean the door seal once a month.
The way to check the tightness is very simple: insert a piece of paper into the gap in the door and close the door; if the paper can be pulled out too easily, this means that the door gasket is loose and needs to be replaced to ensure good cooling performance.
6/ Clean the refrigerator periodically:
Don't wait until your fridge smells or has black mold on it to clean it. Regular cleaning helps prevent mold growth in the first place.
The recommended frequency is light cleaning (wiping shelves and door handles) every 2 weeks and thorough cleaning (following the 6 steps above) every 3 months.
These habits help you detect problems early, maintain a clean environment for food, and extend the life of equipment.
Frequently Asked Questions
Is it necessary to clean the refrigerator immediately if you see a little mold?
Yes, it needs to be cleaned immediately. Mold grows and spreads very quickly in enclosed spaces. From a few small spots, it can spread throughout the entire refrigerator compartment and contaminate food in no time. Cleaning it early helps save energy and protect your family's food safety.Can I use a hair dryer to dry the refrigerator after cleaning?
Yes, but you must use the cool air mode. Never use the hot heat mode because hot air can cause the plastic shelves to deform, the door gasket to be damaged and affect the electronic components of the temperature sensor inside the refrigerator. The best way is to use a dry cloth to absorb the water and leave the refrigerator door open so that it dries naturally.Can I use glass cleaner to clean mold in the refrigerator?
Not recommended. Glass cleaners usually contain fragrance chemicals and detergents that are not safe for food storage areas. In addition, they are not able to kill fungal spores to the root. It is recommended that you use natural ingredients such as baking soda, white vinegar or buy a special solution to clean the refrigerator to ensure health safety.Is bTaskee provide moldy refrigerator cleaning services?
Yes. bTaskee provides professional refrigerator cleaning services in packages such as hourly maid or general cleaning. All Taskers bTaskee are thoroughly trained on the deep cleaning process and use special equipment to effectively remove mold and odors from your refrigerator.
Conclusion
The refrigerator is the “heart” of the kitchen, a place to store the nutritional source for the entire family. Keeping this appliance clean not only helps extend the life of the machine, but more importantly, protects the health of your loved ones from the risk of food poisoning.
After fully following the 6 steps in how to clean a moldy refrigerator above, you can definitely restore a shiny clean condition and a fresh environment to your refrigerator.
However, if you are too busy with work and don't have time to do this thorough cleaning, don't hesitate to get help. bTaskee always ready to help you clean your refrigerator, remove mold quickly and professionally so you have more time to enjoy life.
Share this post!